Make an autumn leaf snow globe
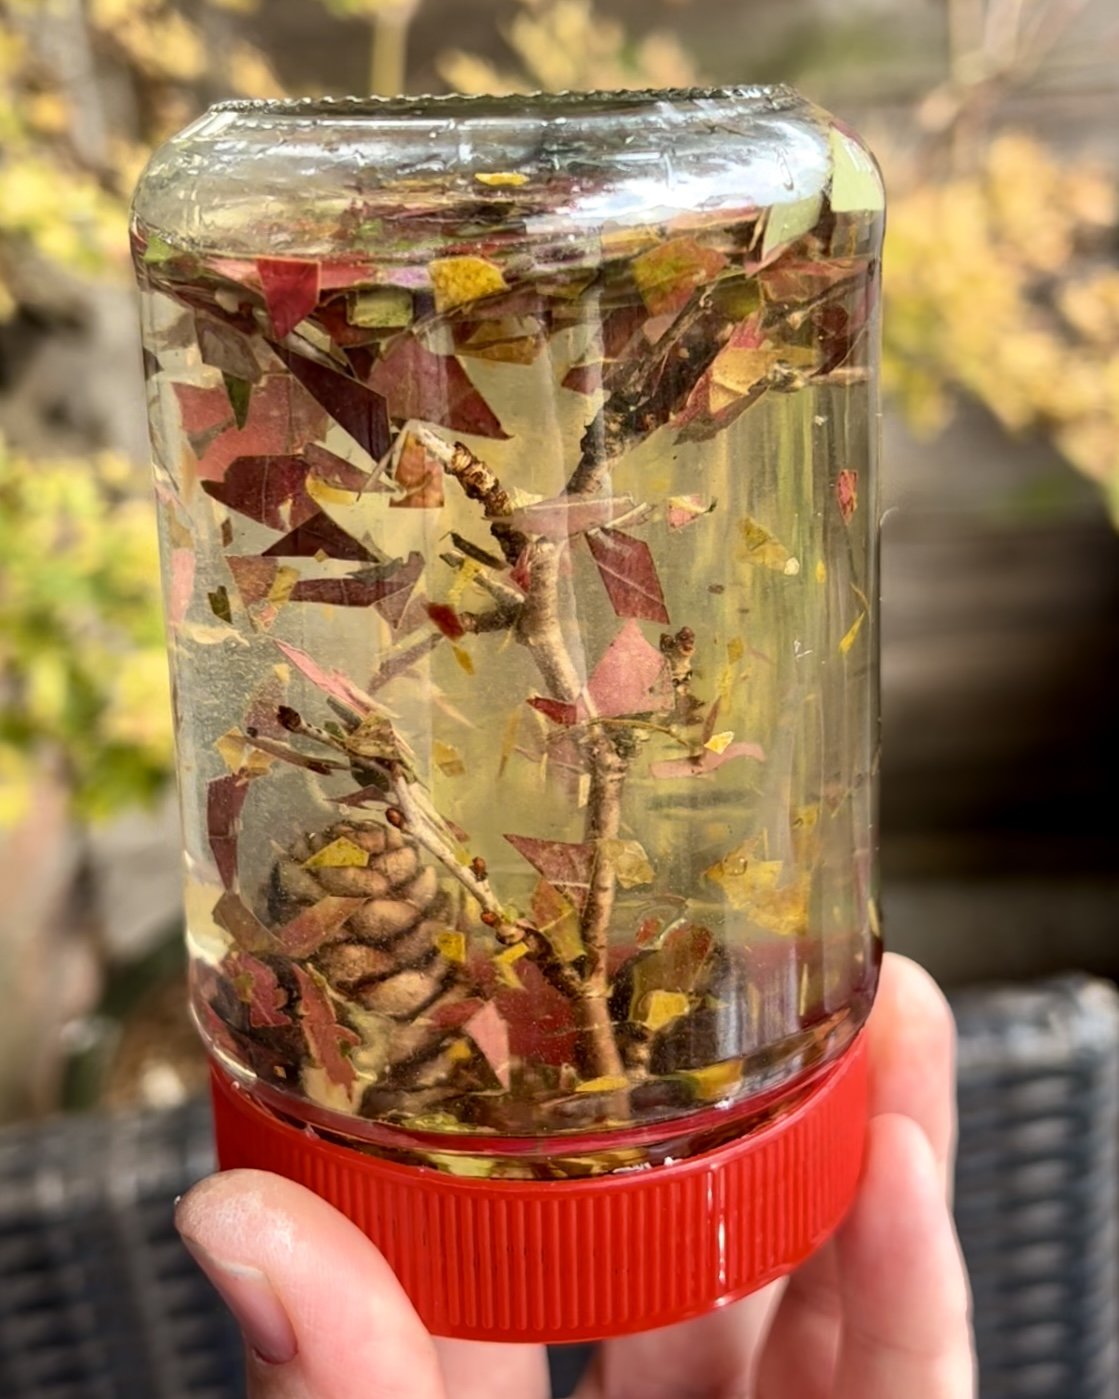
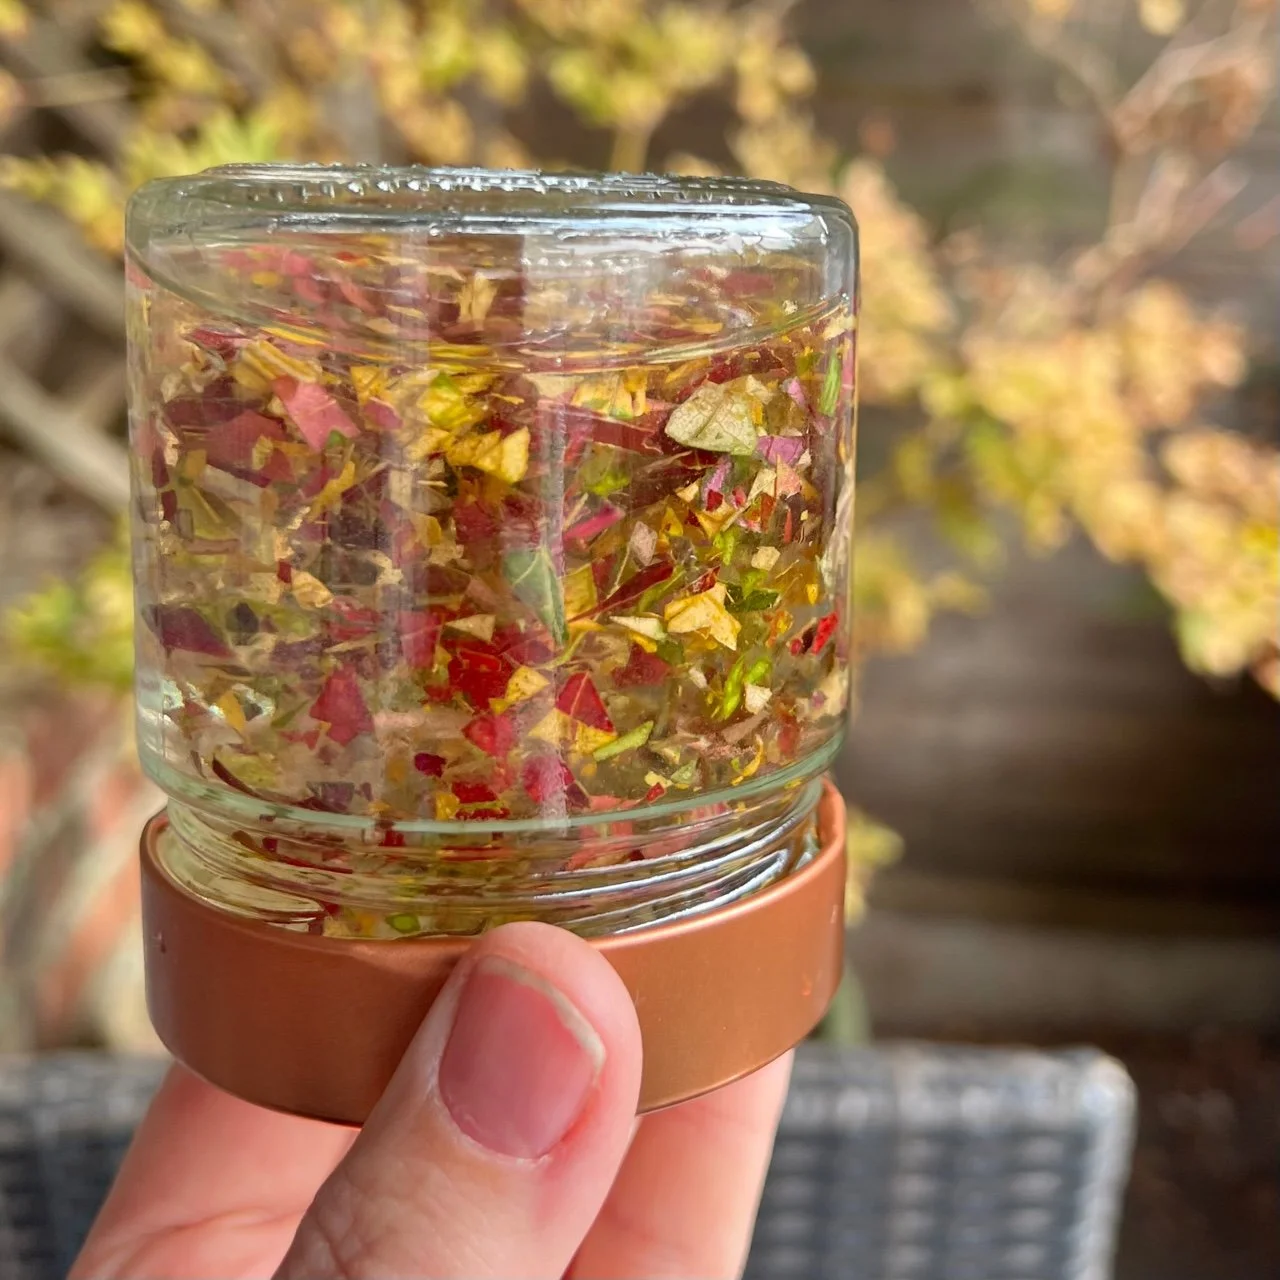
Autumn is such a wonderful time to get outside and notice the colours as the season changes and I always find it so hard not to collect a few fallen leaves when the colours are so vibrant! But you can use some of those colourful leaves to make this beautiful autumn leaf ‘snow’ globe. This can be a really simple activity, using just leaves and water or you can make an autumn scene with a small branch and pine cones and pebbles. We made both so you can see how they compare but I think they are both beautiful!
What you will need:
Autumn leaves!
A water-tight, clear glass jar
Scissors
Water
Optional
Vegetable glycerine (This makes the leaves swirl more slowly. Usually found in the baking isle in the supermarket.)
A small twig with branches
Small tree cones, such as alder cones
Small stones
Hot glue gun
Leaf punch (This is definitely optional but I already have one so I thought it would be nice to use it!)
The first thing you’ll need to do is go for a walk and collect some colourful leaves - see if you can find red, purple, orange, yellow, brown and green leaves!
If you want to make an autumn scene inside your jar, you’ll also need to find a small twig with branches that resembles a bare tree, some small tree cones to look like shrubs and some small stones.
When you are home, give your leaves a little rinse if they look dirty.
Next you’ll need to cut your leaves into smaller pieces. I found the easiest way to do this was to put a few different coloured leaves in the glass jar and then just chop away with your scissors inside the jar.
Tip: Don’t cut all the pieces really small as the colours tend to merge together when swirled - think ‘leaf confetti’ rather than ‘leaf glitter’! It’s good to leave some bigger pieces as well - I used a leaf punch to make some fun leaf shaped pieces!
If you collected a little branch then you’ll need to prepare it so that it fits nicely inside your jar by trimming off any branches that are too long. Test to make sure that it fits before gluing it to the inside of the lid with a hot glue gun!
Glue down small tree cones to look like shrubs and a few small stones to look like rocks. We also raided my son’s modelling supplies and added some shredded corks to look like soil.
Make sure that you leave plenty of space around the inside edge of the lid so there’s room to screw in the jar!
Once the glue has set, pour some water into your jar of leaf confetti so it is about 3/4 full. If you’re using glycerine, add about two tablespoons per cup of water. More glycerine will mean that the leaves will swirl slower and less will mean they swirl faster.
Now screw on your lid, being careful with your tree branches. Check how much water has been displaced by the scenery and add more water if needed. You want the water to go almost to the top so you only have a small air bubble.
Make sure the lid is screwed on tightly, flip the jar over and give it a shake. Now you can enjoy watching the leaf confetti swirl around the tree like on a blustery day!
As this autumn leaf snow globe has organic materials inside, the water will start to turn cloudy after a while though you can empty it out and refill with fresh water and new leaves.
Author: Denise Hope, home educating mum of two boys


