Why do pine cones open and close?
Did you know that female pine cones open and close depending on the weather? This activity is a great way to see this in action!
Pine cones are the reproductive organs of trees - it’s how they produce more trees! There are actually male and female pine cones. The ones that we usually think of when we think about pine cones are the female cones that produce seeds and these are the ones that open and close. The male cones are often called catkins - they’re small and soft, rather than hard and woody like female cones, and they produce pollen.
When male cones release their pollen, it is carried around the air by blowing wind, and hopefully to a female pine cone on either the same tree or another tree. This is called pollination and over the course of a few years, seeds will develop under the scales of the female cone. The female pine cone then opens when the seeds are mature and the conditions are right.
This activity is a great way of observing how water affects pine cones and therefore, what kind of conditions are right for the pine cone to disperse its seeds. The first time I did this activity with my (now much older!) son, it was fascinating! Neither of us had realised that the tightly packed cones we saw where the same types of cones as the open ones!
What you will need:
A pine cone
A clear glass, bowl or jam jar
Water
Oven and baking tray or a radiator
What you need to do:
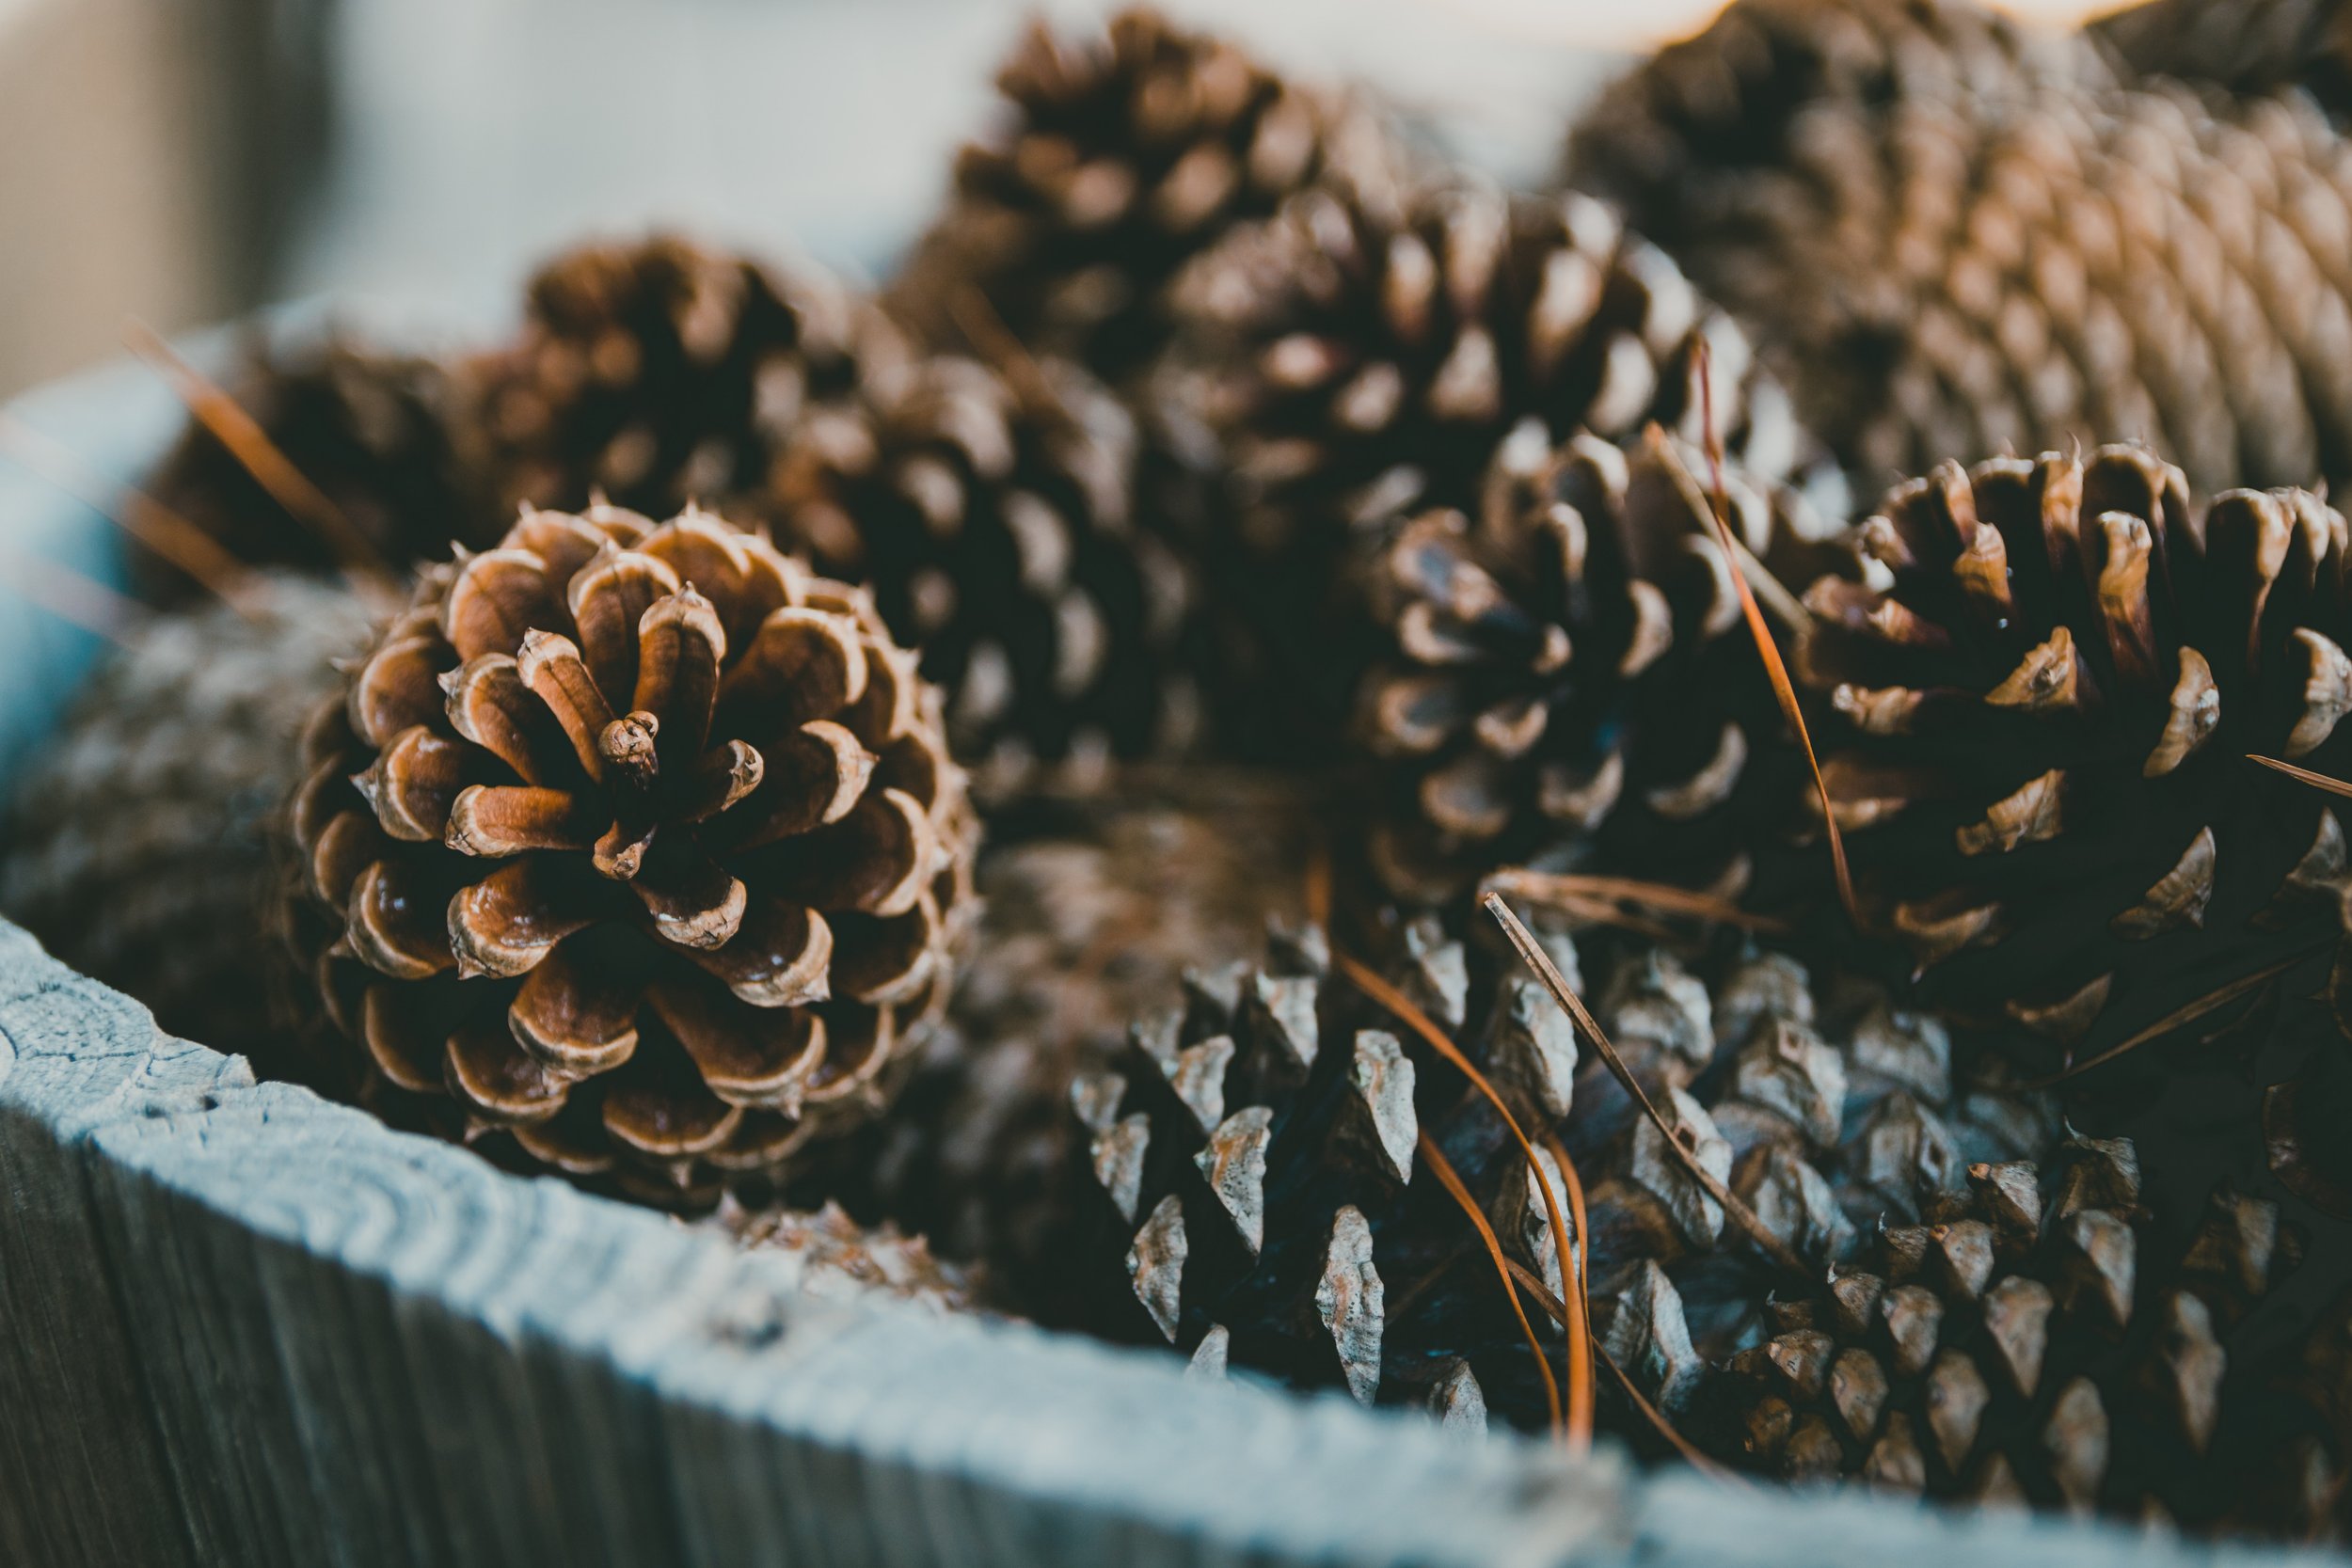
First you’ll need to go on a nature walk and collect a pine cone. You’ll often find pine cones scattered on the ground underneath conifer trees in woods, parks and gardens in autumn. If your pine cone is open you can carry on reading below but if it is closed, start at the section ‘How to open your pine cone’.
How to close your pine cone
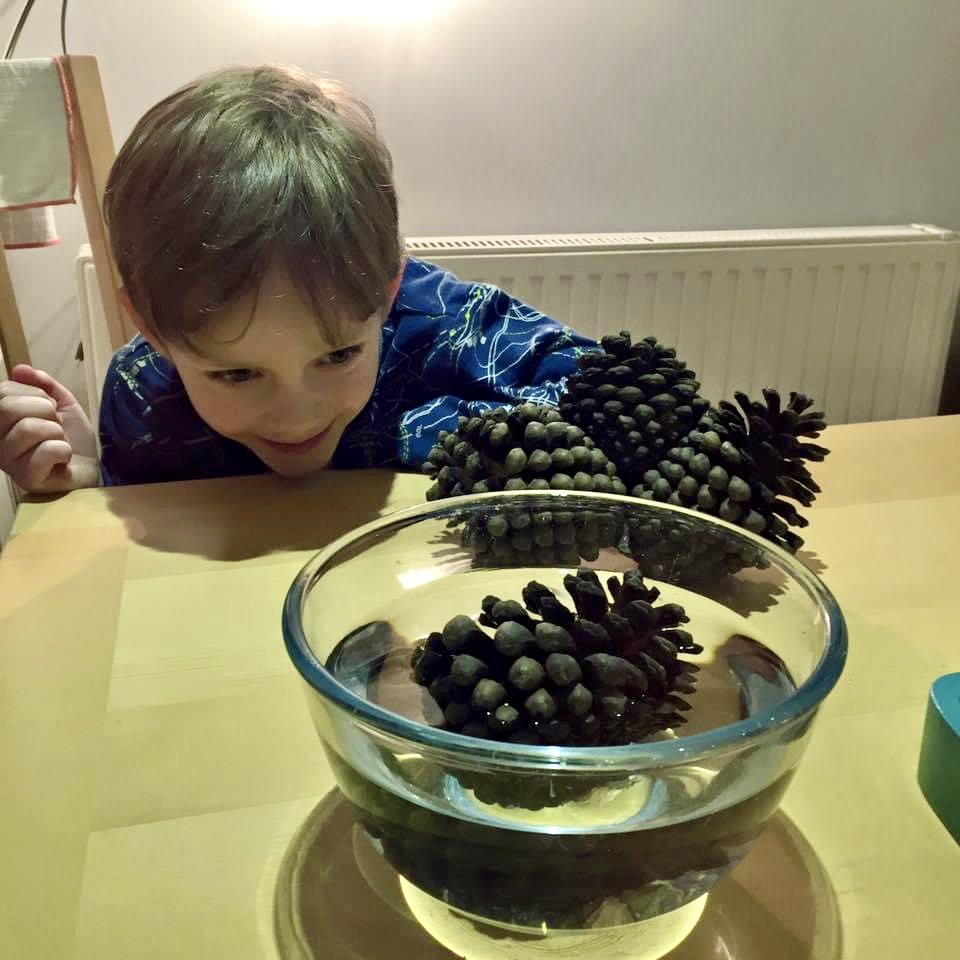
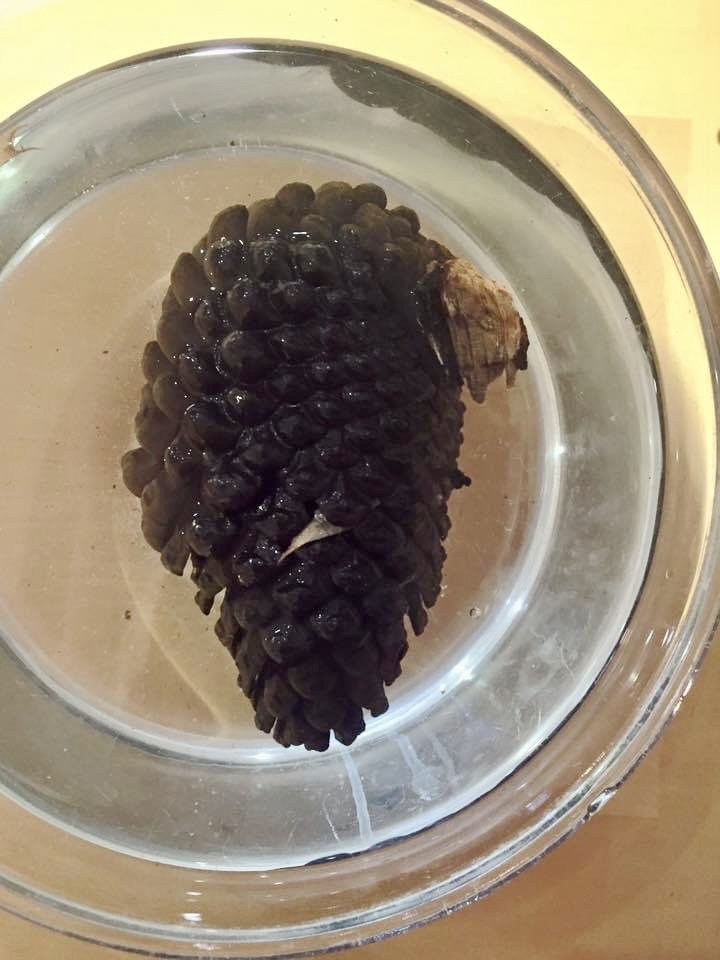
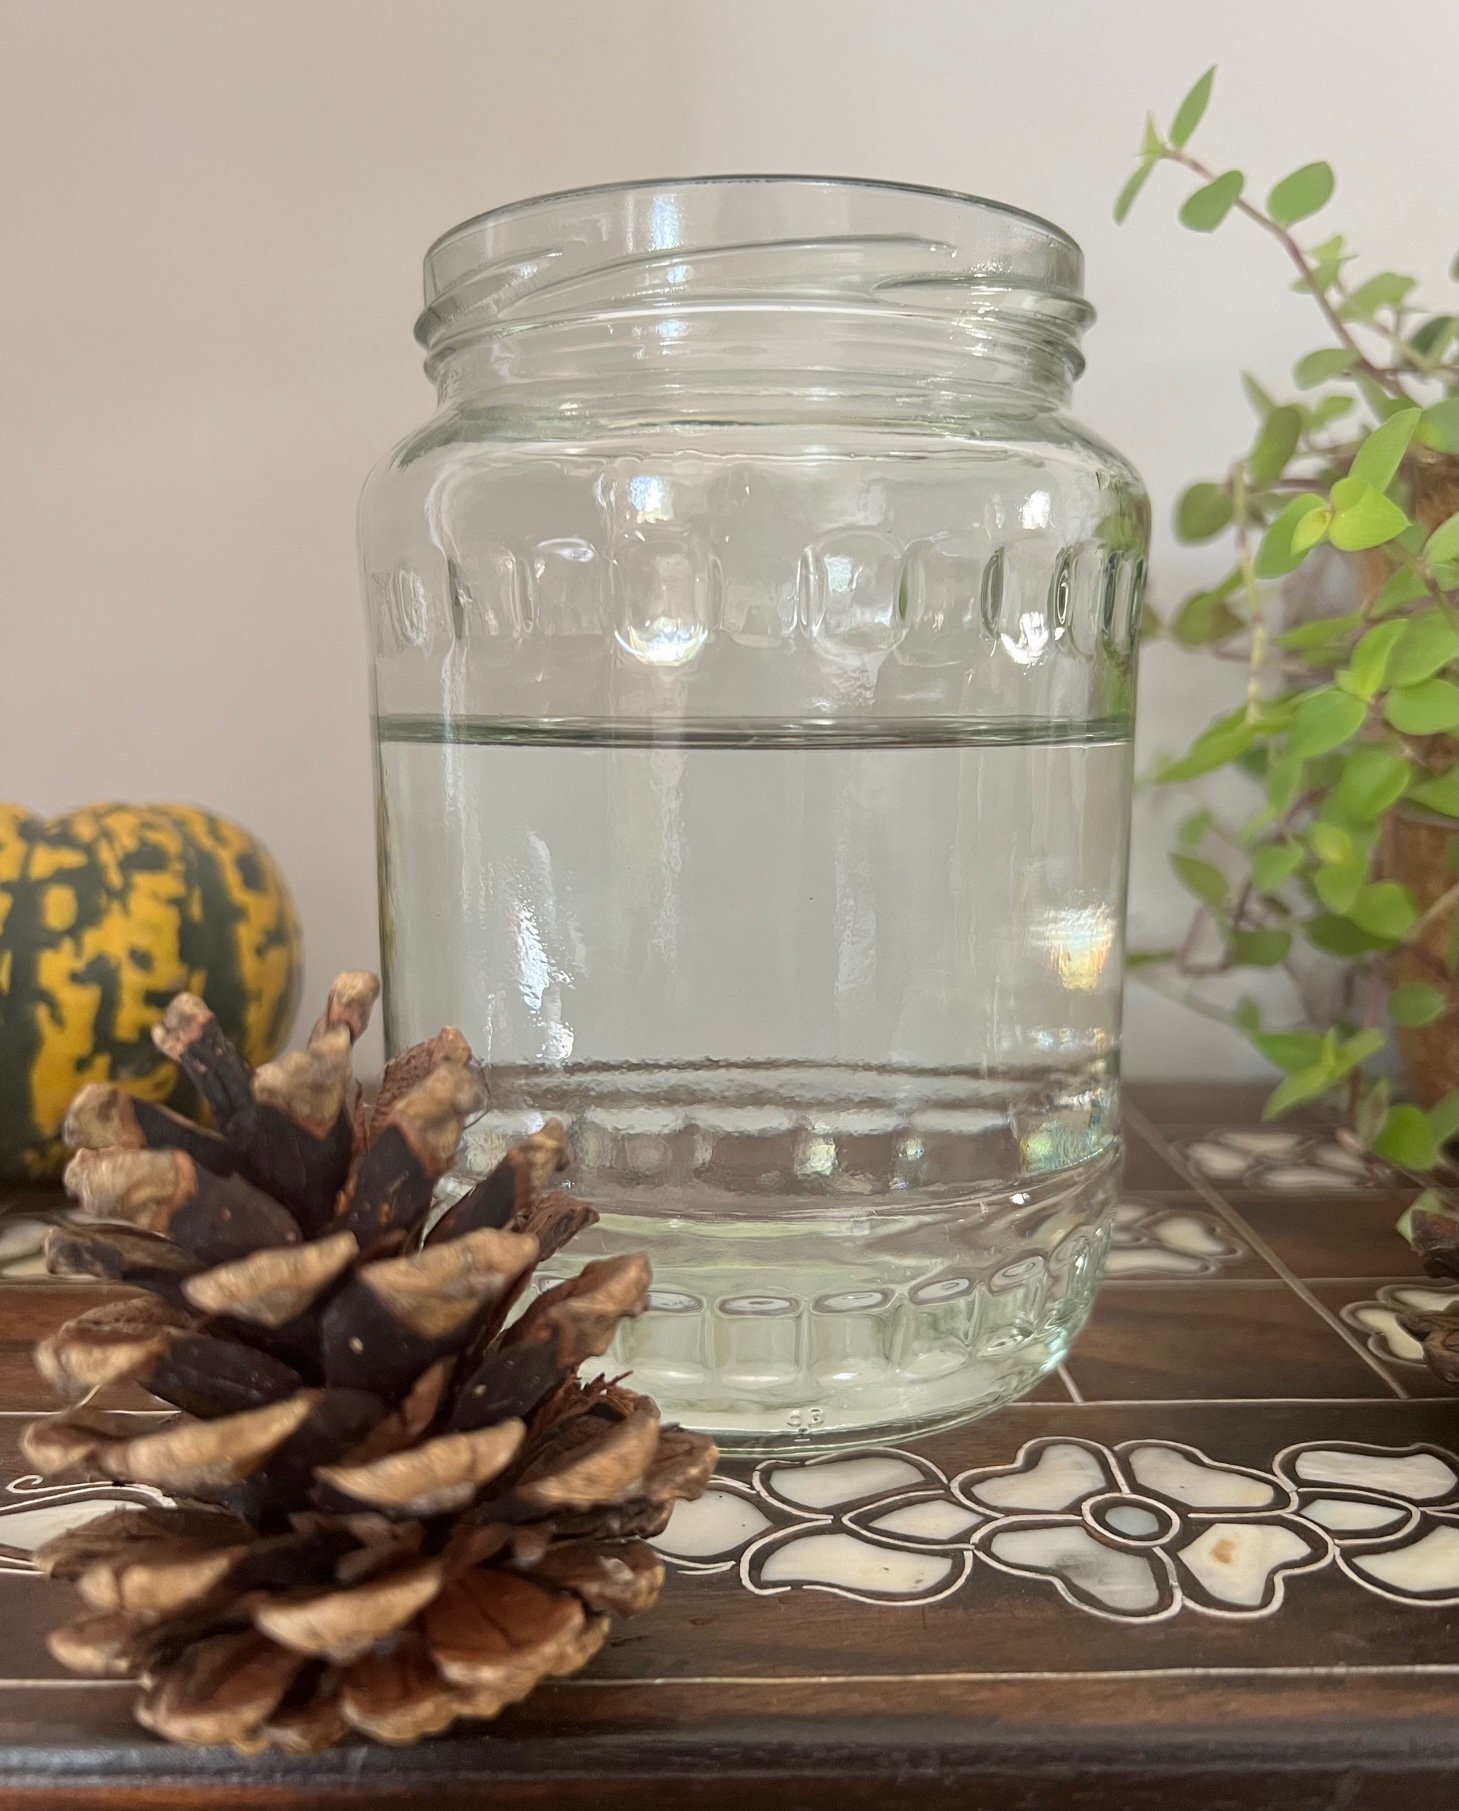
Fill a clear glass jam jar, bowl or glass with water.
Place your open pine cone into the water.
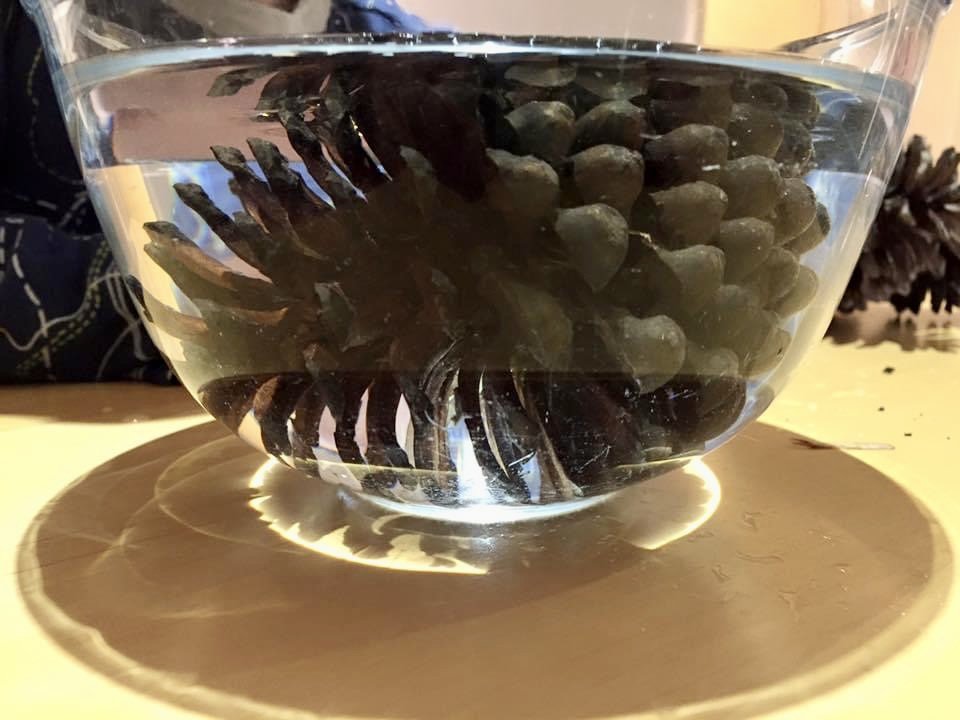
Wait for your pine cone to close!
If you want to, you can guess how long it will take for the pine cone to close and then time it. The one below took around 15 mins to close.
Watch the time-lapse video on Instagram below to see it in action!

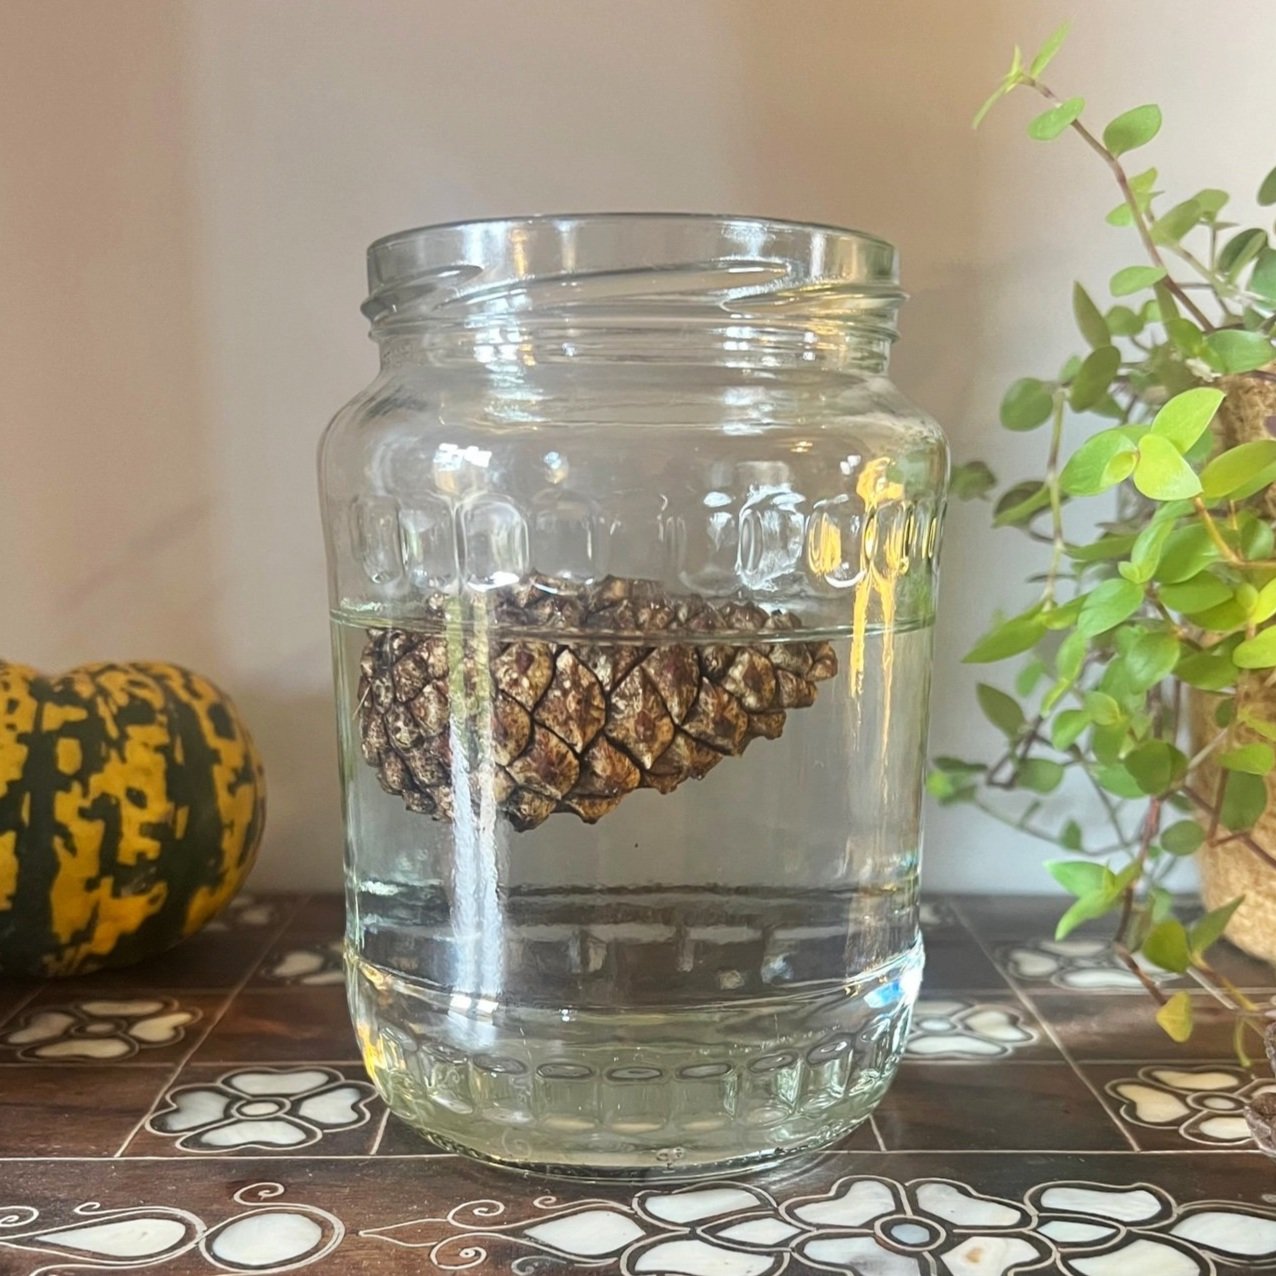
So how does this happen? The secret lies in the structure of the pine cones’ scales. Pine cone scales are made up of several layers with different qualities. The outer layer is more absorbent than the inner layer so when the weather is wet, the outer layer of the scales swells more than the inner layer which causes the pine cone’s scales to curl inward, closing the cone.
This means that the seeds are protected inside the cone at a time when it wouldn’t be best for the seeds to be released - when the weather is wet as wet weather dampens dispersal.
How to open your pine cone
Place your pine cone on a piece of paper (to catch any debris that might fall out as it opens) on a warm radiator and leave overnight.
Alternatively, you can put your pine cone(s) on a baking sheet in an oven on a low heat - about 100 degrees centigrade - and they should dry in a few hours.
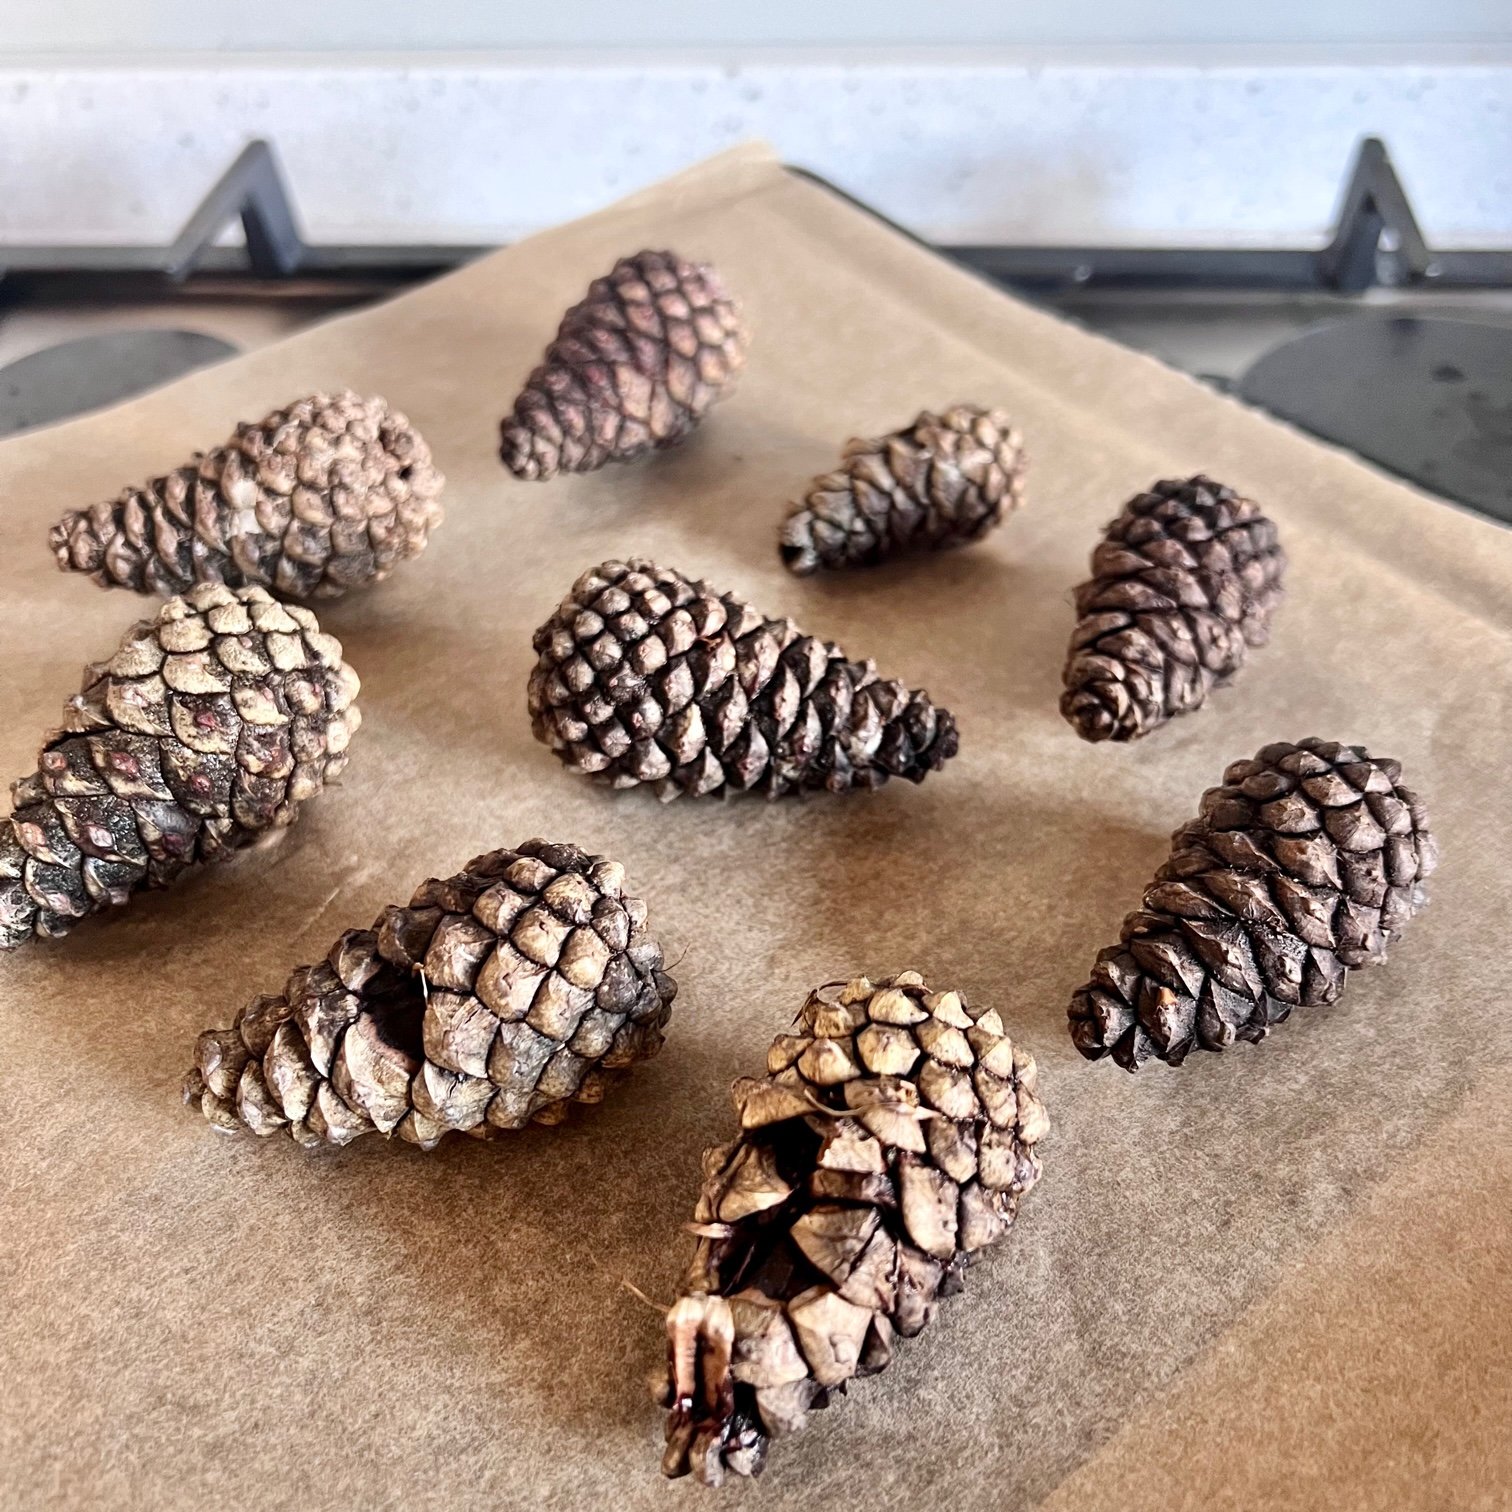
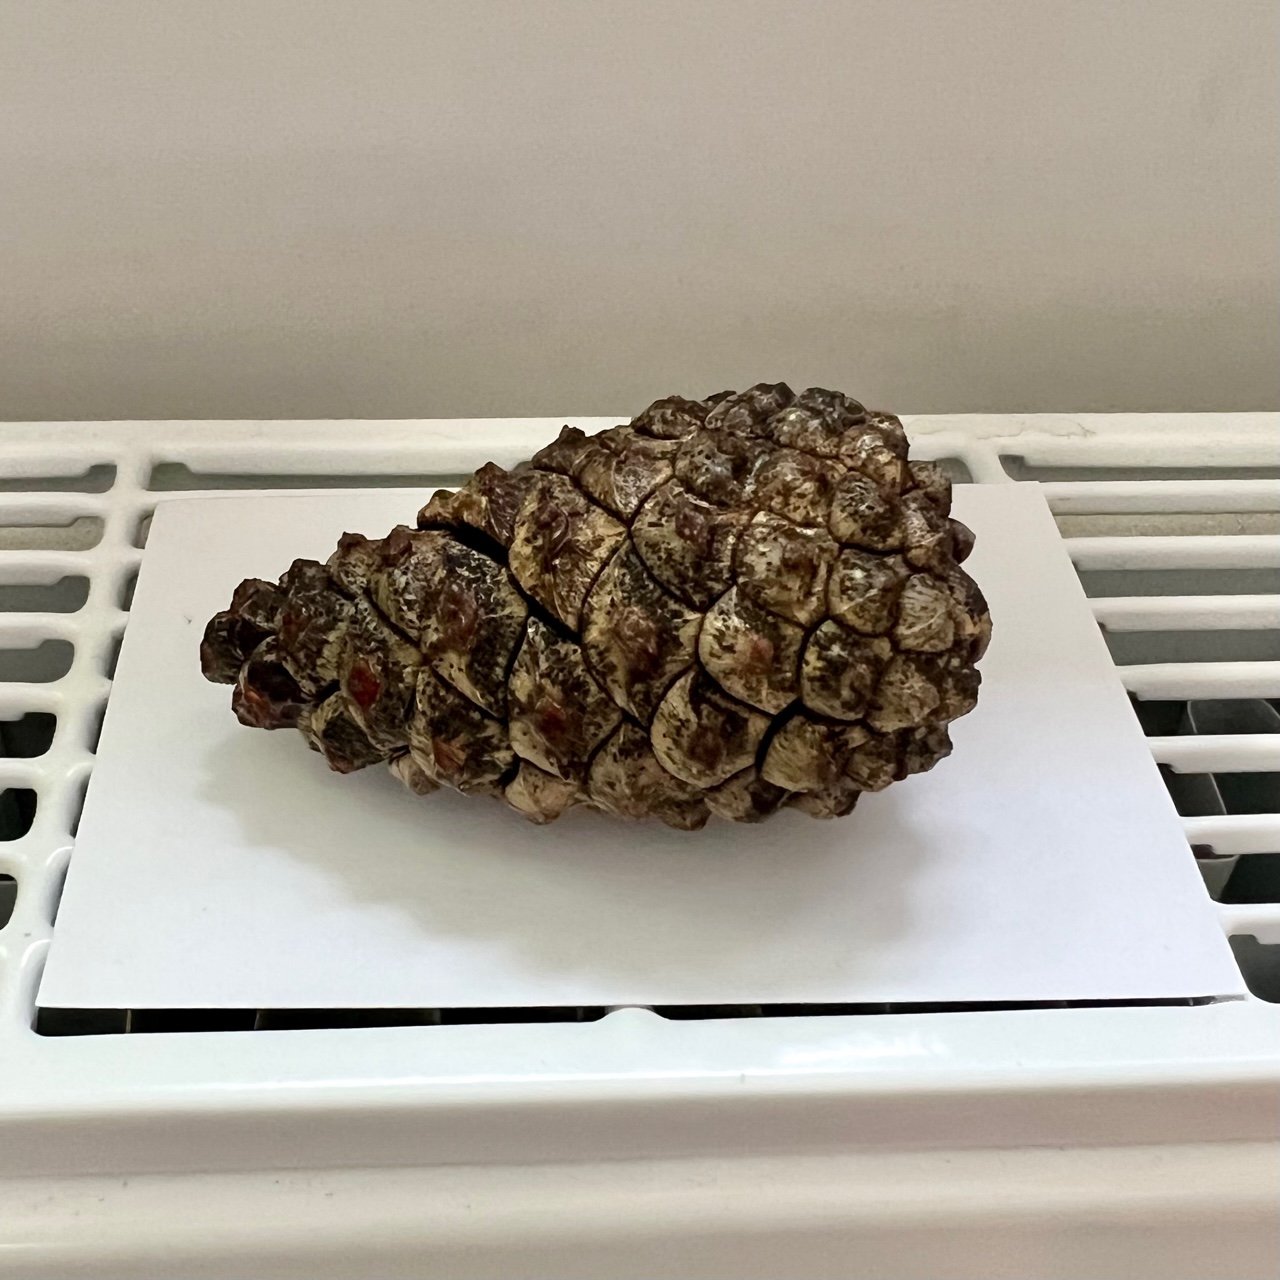
As the cone dries out, the scales will dry out and shrink. However, the outer layer of the scales shrink more than the inner layer which forces the scales to pull away from the cone allowing the cone to reopen and expose its seeds.
Why does this happen? It’s simply so that the seeds are free to disperse when conditions are best for winds to carry them far and wide which is when it is dry. Wet weather dampens dispersal and so the cone closes up when wet to protect the seeds.
Looking at the pine cone seeds
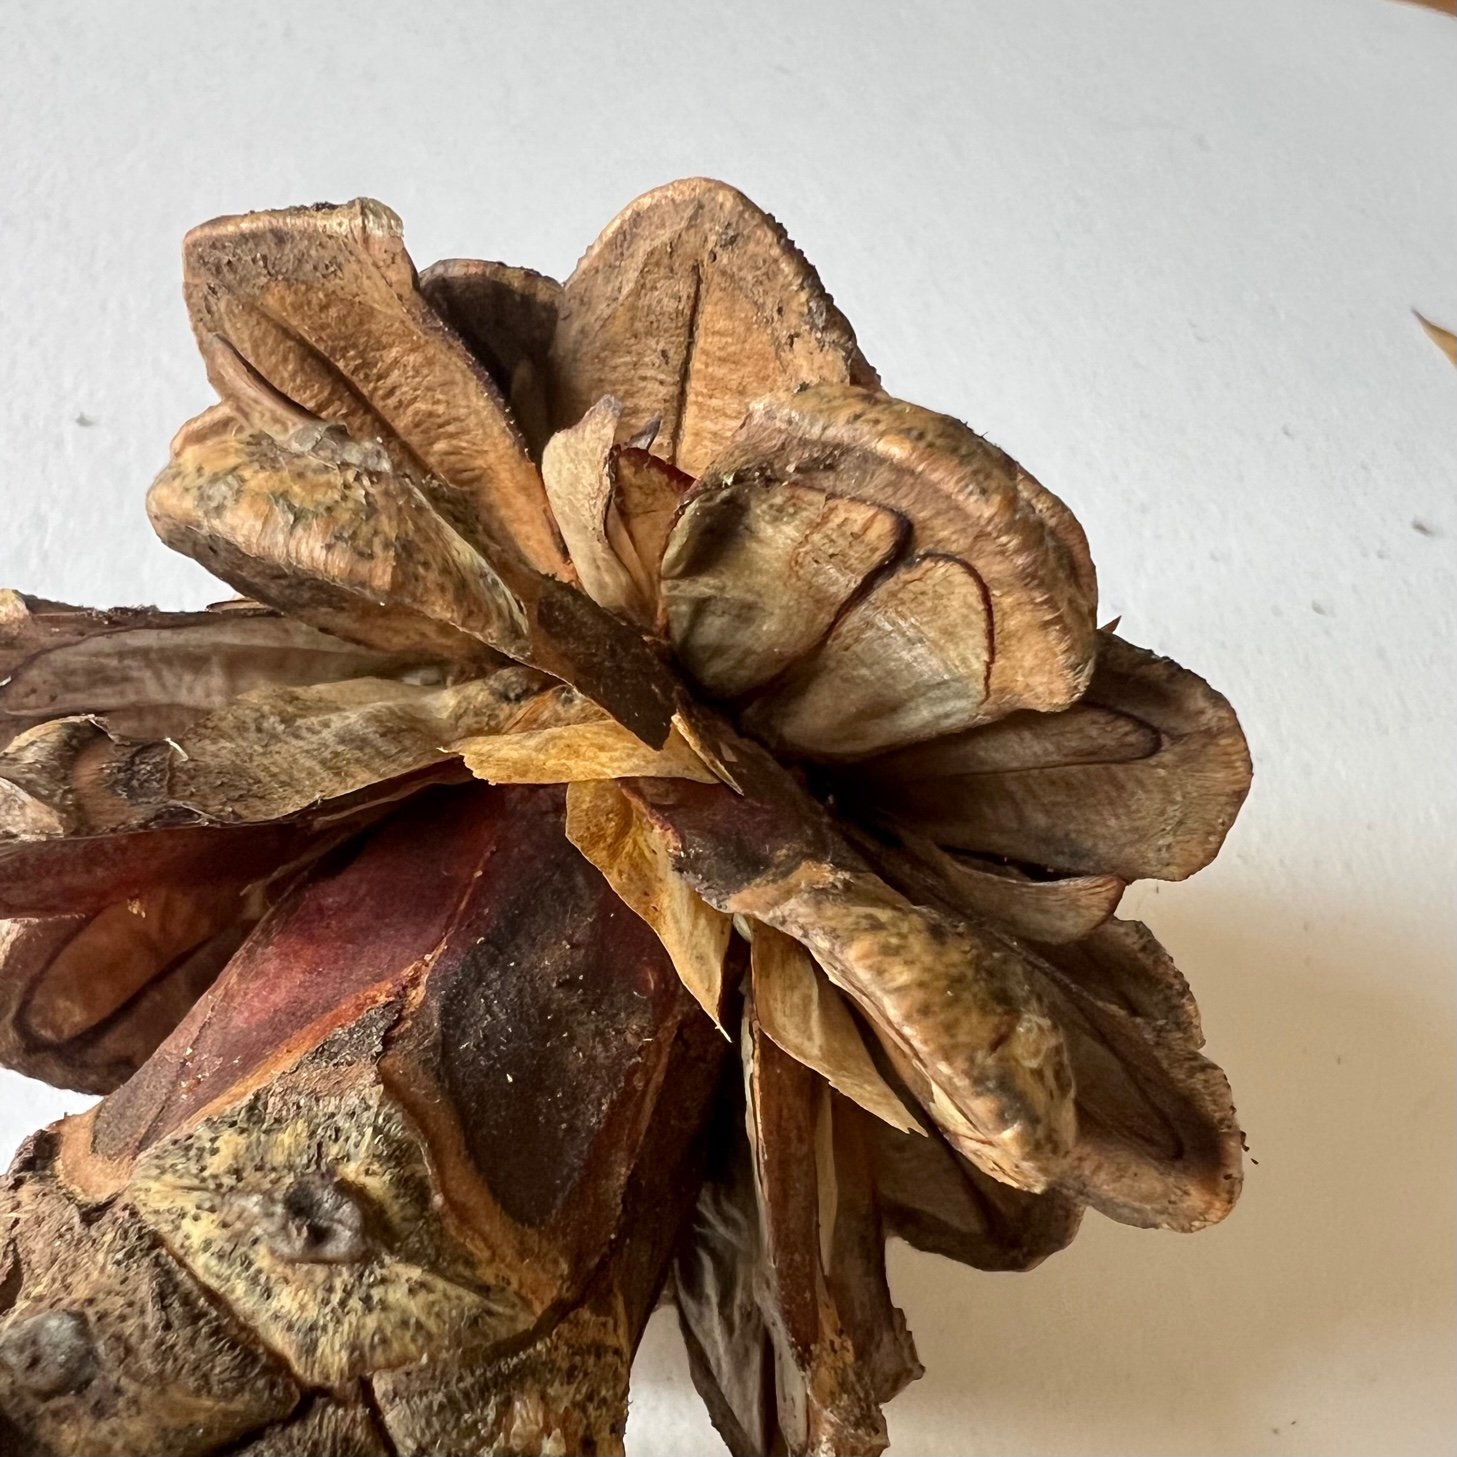
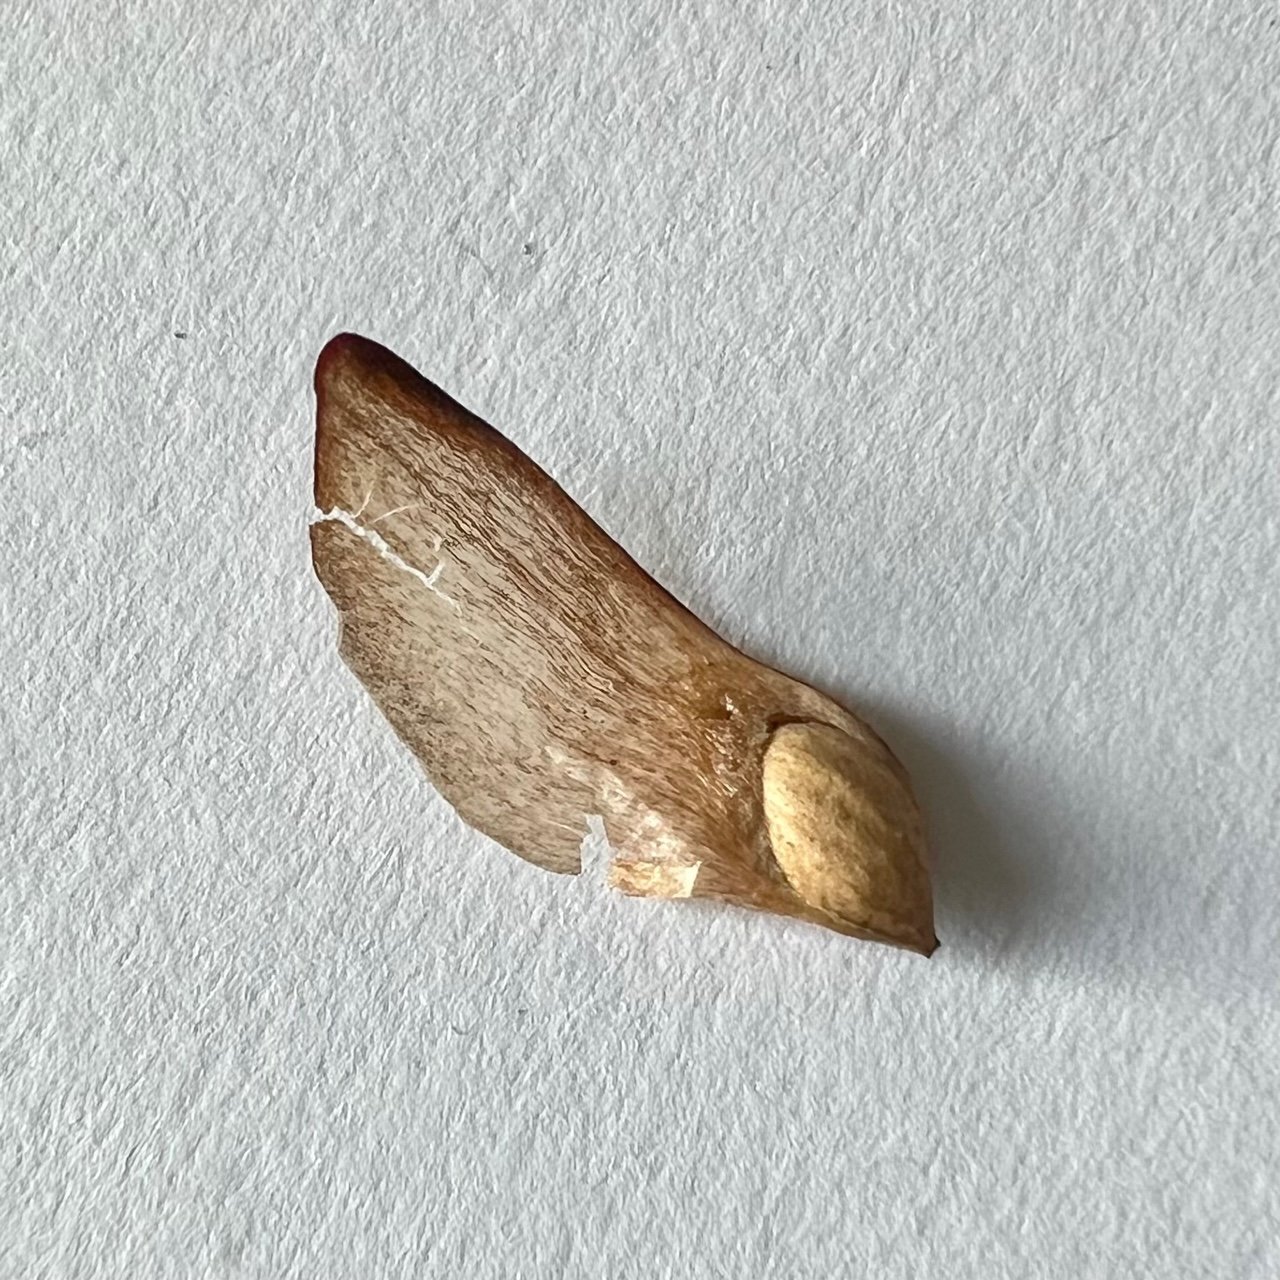
If you look closely at your open pine cone, you will see that each scale of the pine cone has a seed at its base! You might be able to knock some of the seeds out but if not, you might be able to remove one with a pair of tweezers if you’re really careful - they’re very delicate! You’ll need to pull from the base of the seed, in the centre of the pine cone, rather than at the tip. Each seed is winged which helps is fly further away from the parent tree in the wind!
If you have some different kinds of pine cones, you could compare how long it takes for them to open and close.
Author: Denise Hope, home educating mum of two boys
If you’d like to receive regular nature craft activities alongside gardening activities for children, subscribe below to receive a monthly Mud & Bloom box! Each monthly Mud & Bloom box contains at least two craft activities for children as well as two growing activities.